8.2. Adding a Local Printer
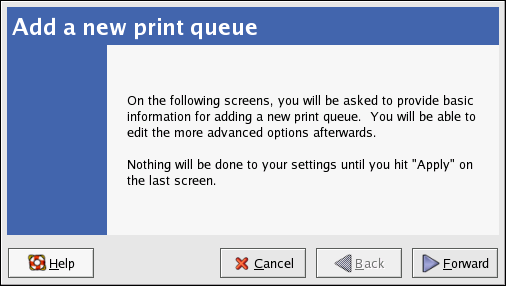
To add a local printer, such as one attached through a parallel port or USB port on your computer, click the New button in the main Printer Configuration Tool window to display the window in Figure 8-1. Click Forward to proceed.
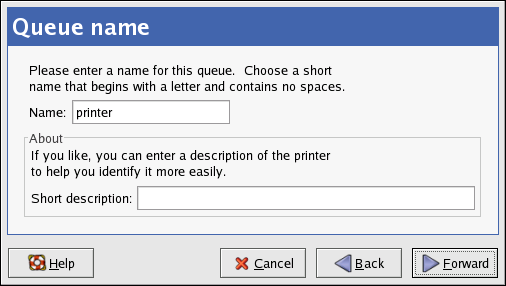
In the window shown in Figure 8-2, enter a unique name for the printer in the Name text field. The printer name cannot contain spaces and must begin with a letter. The printer name may contain letters, numbers, dashes (-), and underscores (_). Optionally, enter a short description for the printer, which can contain spaces.
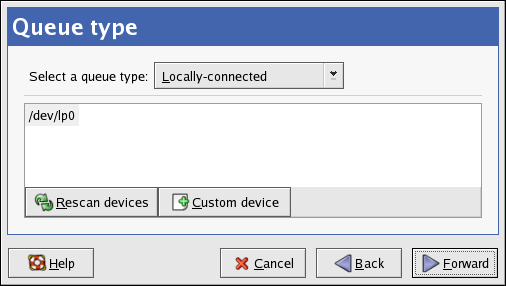
After clicking Forward, Figure 8-3 appears. Select Locally-connected from the Select a queue type menu, and select the device. The device is usually /dev/lp0 for a parallel printer or /dev/usb/lp0 for a USB printer. If no devices appear in the list, click Rescan devices to rescan the computer or click Custom device to specify it manually. Click Forward to continue.
The next step is to select the type of printer. Go to Section 8.3 Selecting the Printer Model and Finishing to continue.